Cooking Technique
How to Sear Meat Properly
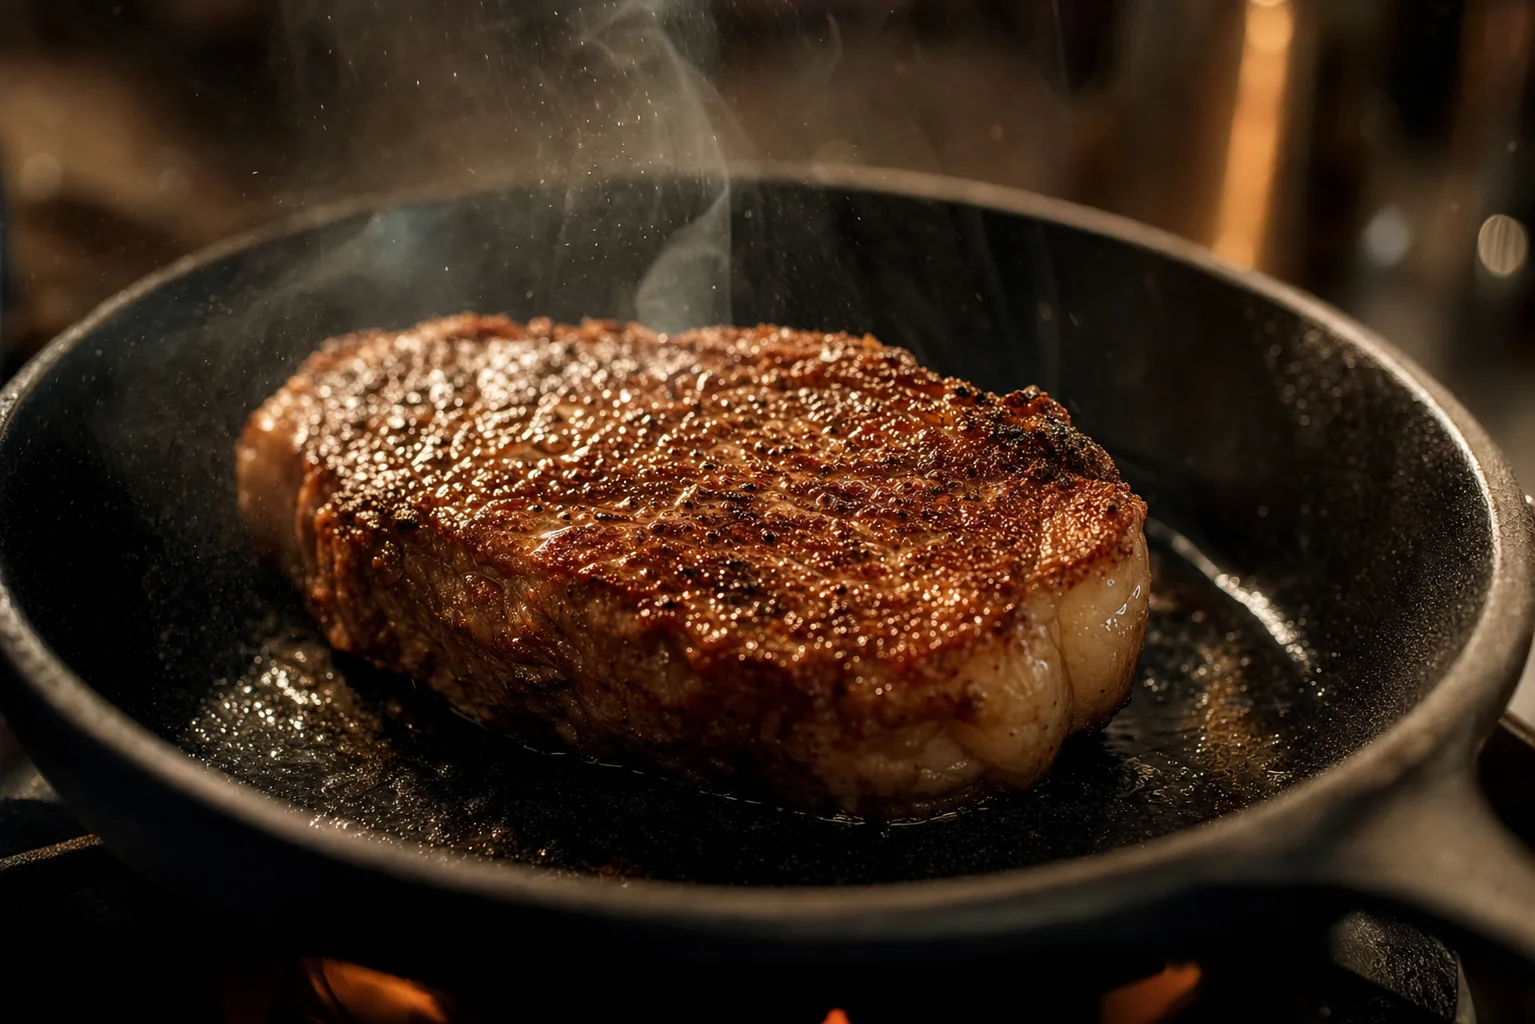
Most home cooks get a grey, steamed crust instead of a deep mahogany sear. The fix is not a secret technique — it is two simple conditions: a dry surface and a properly hot pan. Everything else follows from that.
What Searing Actually Is
Searing is the application of intense, dry heat to the surface of a protein until the Maillard reaction occurs. The Maillard reaction is a chemical process between amino acids and reducing sugars that produces hundreds of flavor compounds — the characteristic roasted, savory, slightly nutty aroma you associate with a well-cooked steak or a properly roasted chicken thigh.
It is not caramelization (which involves only sugars) and it is not "sealing in juices" — that is a long-disproven myth. Searing creates flavor and texture. A proper sear produces a crust that has a satisfying chew and a depth of flavor that simply does not exist in a pan-steamed or oven-only protein.
The Maillard reaction begins at around 280°F (140°C) on the meat surface and accelerates significantly above 300°F. This is why water — which boils at 212°F and cools the pan — is the enemy of a sear. Any moisture on the surface must evaporate before browning can begin.
Why It Matters
Searing is the single technique that most reliably separates food that tastes like it was cooked at home from food that tastes like it was made in a professional kitchen. The crust is not merely aesthetic. It contributes:
- Flavor complexity: Hundreds of distinct aromatic compounds created by the Maillard reaction that cannot be replicated by any other cooking method.
- Textural contrast: A crisp or firm outer layer against a tender interior makes every bite more interesting.
- Pan fond: The browned bits that stick to the pan after searing — the fond — are the foundation of pan sauces, deglazes, and braises. A properly seared protein leaves a rich, dark fond that rewards the cook twice.
- Visual appeal: Deep, even browning signals doneness and quality in a way that grey steamed meat does not.
Step-by-Step: How to Sear Meat
-
Dry the meat thoroughly.
Pat every surface — top, bottom, and sides — with paper towels until visibly dry. For the best crust, place the meat uncovered on a wire rack in the refrigerator for 1 to 4 hours before cooking. The surface should look slightly tacky, not wet. This step alone accounts for most sear failures when skipped. -
Season at the right time.
Salt at least 45 minutes before cooking, or right at the moment you cook. In the 10-to-40 minute window, salt draws moisture to the surface and creates a wet brine that has not had time to reabsorb. Salt applied immediately before cooking stays on the surface; salt applied well in advance reabsorbs back into the meat. -
Heat the pan until genuinely hot.
Place a cast-iron or stainless-steel skillet over high heat for 2 to 3 minutes — longer than most people expect. Test readiness by flicking a few drops of water: they should evaporate in under one second. Add a high smoke-point oil (canola, grapeseed, or avocado) and let it shimmer and begin to show faint wisps of smoke before adding the meat. -
Lay the meat down and leave it alone.
Place the meat away from you into the pan. Do not press it, do not move it, do not shake the pan. The meat will stick at first and release naturally as a crust forms — typically 2 to 4 minutes for a 1-inch steak. If you have to pry it up, the crust is not ready. -
Flip once and sear the second side.
Flip the meat and sear the reverse side for approximately the same time. For thicker cuts — chops or chicken thighs — hold the meat on its edge with tongs and sear each side for 30 to 60 seconds to render the fat and form a complete crust. -
Baste with butter (for steaks and thick cuts).
Reduce the heat to medium. Add 2 tablespoons of butter, two smashed garlic cloves, and a sprig of thyme or rosemary. As the butter melts and foams, tilt the pan toward you and use a large spoon to baste the meat repeatedly for 60 to 90 seconds. This adds flavor and hastens browning without the risk of burning. -
Rest the meat before cutting.
Transfer to a cutting board and let it rest uncovered for at least 5 minutes (longer for larger cuts). Resting allows the juices to redistribute and the internal temperature to equalize. Cutting immediately releases those juices onto the board, not into your mouth.
The release test: A properly seared piece of meat releases cleanly from the pan. If you have to force it, give it another 30 to 60 seconds. The crust will tell you when it is ready.
Common Mistakes
1. Wet meat surface
This is the most common cause of a steamed, grey exterior. Moisture hitting a hot pan immediately lowers the surface temperature below the Maillard threshold and converts to steam. Thorough drying with paper towels — and ideally an air-dry in the refrigerator — solves this completely.
2. Underpowered pan heat
A medium-hot pan looks active but does not generate enough surface temperature for rapid Maillard browning. The pan needs to be genuinely hot — water droplets should hop and evaporate on contact. Most home cooks do not wait long enough, especially with electric stoves where heat-up time is slower.
3. Overcrowding the pan
Every piece of cold meat added to the pan lowers the pan temperature. Too much meat drops the heat below browning temperature and the meat steams in its own released moisture. Cook in batches, leaving at least an inch of space between pieces. See the guide on overcrowding for the full explanation.
4. Using a nonstick pan
Nonstick coatings degrade at searing temperatures and cannot handle the prolonged high heat needed for proper browning. Use cast iron or stainless steel for any protein you want properly seared.
Equipment Notes
Cast iron is the best all-around choice for searing. It holds heat extremely well and recovers quickly when cold meat is added, which matters when cooking multiple pieces. It goes from stovetop to oven seamlessly for thicker cuts. Downside: it is heavy and requires some maintenance.
Stainless steel is excellent, especially if you plan to make a pan sauce afterward. The fond is highly visible, the pan deglazes cleanly, and it handles high heat without issue. It is more reactive to temperature changes than cast iron, so it requires a bit more attentiveness.
Carbon steel is lighter than cast iron with similar heat retention and seasoning properties — worth considering if you want cast-iron performance without the weight.
When NOT to Use This Technique
Searing is not always the right move. Skip it when:
- You are cooking delicate fish that will fall apart under high, direct heat — methods like poaching, baking en papillote, or a gentler sauté serve those better.
- You are braising. A hard braise with extended liquid cooking will soften any crust you build, though a brief sear at the start still adds flavor to the braising liquid.
- You do not have adequate ventilation. A proper sear produces significant smoke. Without a functioning hood or open window, the smoke alarm will go off. Oven-finishing at high heat (500°F) is a lower-smoke alternative for home kitchens.
- The cut is too thin. Very thin cutlets — under 3/4 inch — are often better served by a hot sauté or paillard technique than a full restaurant-style sear, which can overcook the interior before the crust forms.
Recipes Where Searing Shines
- Pan-seared steak with butter baste — the technique at its most direct
- Pan-roasted chicken thighs — sear skin-side down, finish in the oven
- Seared pork chops with apple and mustard pan sauce — uses the fond from the sear
- Pan sauce made from the sear fond — deglazing turns the crust into the sauce
- Seared duck breast — fat rendering plus Maillard browning in one pan
Try it with NowCook
The chef behind NowCook built technique notes directly into the recipe output — so when a recipe calls for searing, you see exactly what the pan should look like, how long to wait, and what the release test feels like. Start your 14-day free trial, no credit card required. $9/month after.
Frequently Asked Questions
Why does my meat steam instead of sear?
Steaming instead of searing almost always comes from one of three causes: the meat surface is wet, the pan is not hot enough, or too much meat is in the pan at once. Overcrowding drops the pan temperature below the threshold needed for browning. Dry the meat, heat the pan until water droplets evaporate on contact, and cook in batches if necessary.
What is the best pan for searing meat?
Cast iron and stainless steel are the two best options. Cast iron holds heat extremely well and recovers quickly when cold meat is added. Stainless steel is easier to deglaze for pan sauces and shows the fond clearly. Nonstick pans cannot handle the high heat needed for a proper sear and should be avoided for this technique.
Should I use butter or oil for searing?
Start with oil that has a high smoke point — canola, grapeseed, or refined avocado oil. Butter burns at searing temperatures. Add butter toward the end of cooking for basting, which gives you flavor and browning without the burnt-milk-solids bitterness you get from butter added at the start.
How do I know when the sear is done?
The most reliable indicator is release: properly seared meat releases from the pan on its own. If you have to pry it up, the crust is not fully formed. Visually, you want a deep mahogany-brown color with no grey steamed patches. The edges should be opaque about one-third of the way up.
Can I sear frozen or cold meat?
Cold meat straight from the fridge lowers the pan temperature significantly the moment it lands, which delays browning and leads to uneven cooking — browned on the outside before the inside comes up to temperature. Let meat sit at room temperature for 20 to 30 minutes before searing, or at least blot it very dry. See the guide on cold meat from the fridge to a hot pan for more detail.
Related techniques
Avoid these mistakes